Gentoo Linux On A MacBook 5,1
[home]What You Will Need
- X1 (maybe 3) external storage devices e.g USB thumb drives
- A Linux Mint *.iso file
- Broadcom wireless card firmware downloaded from here
- The Gentoo wiki
- Finally... patience
You may need another external storage device like an external HDD that you do not care about to use as swap memory, I had to do this horrible hack since my MacBook has under 1GB of memory, which would get fully used up and freeze the system when emerging packages.
Since the MacBook has a random Broadcom wireless card, using Linux Mint to install Gentoo from makes a lot more sense as we do not need to worry about getting the wireless firmware onto a Gentoo live environment. Burn this *.iso file to your external storage device, boot from it, and follow the Gentoo Linux installation guide in this live environment.
We need this so that we can connect to wireless networks on the MacBook , I suggest storing this on another computer, or saving this link for after the Gentoo installation, for the MacBook 5,1 download the *.6.30.163 file from this site.
This is essential, use my page as general guidance for this MacBook and other MacBook's, I will not be going over all of the Gentoo install commands on my page, so go through the installation guide at your own pace .
Gentoo takes a long time to install, especially on a computer with less than 1GB of memory and a dual core cpu from 15+ years ago (as of 2023).
Some Recommendations For This Installation
- Use A Kernel Binary
- Use Minimal Programs
This might not be the Gentoo way, but it is certainly fast way, you can always compile the kernel later on, but at least during the installation I used a kernel binary to speed things up.
Using minimal programs like dwm and st instead of KDE or xterm will drastically increase compile times on these poor machines, and since Intel MacBook's love to get hot, it will produce less heat.
Installing Broadcom Wireless Firmware
The MacBook 5,1 and other MacBook models use Broadcom wireless cards,
which require firmware which is not provided with the Linux kernel. To
connect to wifi we must install the firmware manually, which is a pain if
you do not know where to look.
First we must download the Broadcom firmware from
here, for the MacBook 5,1
specifically we must download the broadcom-wl-6.30.163 tarball
and unpack it by executing:
tar xfvj broadcom-wl-6.30.163.tar.bz2
From here we need to emerge a tool called b43-fwcutter, this
is only a small tool so it shouldn't take long to compile.
Finnally we will be left with an object file from when we extracted the
tarball. We must now use b43-fwcutter to add the object file into the
kernel as follows:
b43-fwcutter -w /lib/firmware *.o
Using An External Storage Device As Swap
I doubt you will have to do this, but incase you do, heres how. The
reason I had to do this is because, as far as I know, this was my only
option, my MacBook has less than 1GB of memory and would freeze when
compiling llvm and other big programs.
First find the drive in lsblk and open it in
cfdisk. Then format it as linux swap, I just
used all of the drives storage to get a massive 32GB of slooow swap memory,
but it worked.
Now run:
mkswap /dev/sd**
replacing the ** with the drive and partition numbers to make the file
system.
Now to activate and use the swap memory run:
swapon /dev/sd**
Again replacing the ** with your drive and partition numbers.
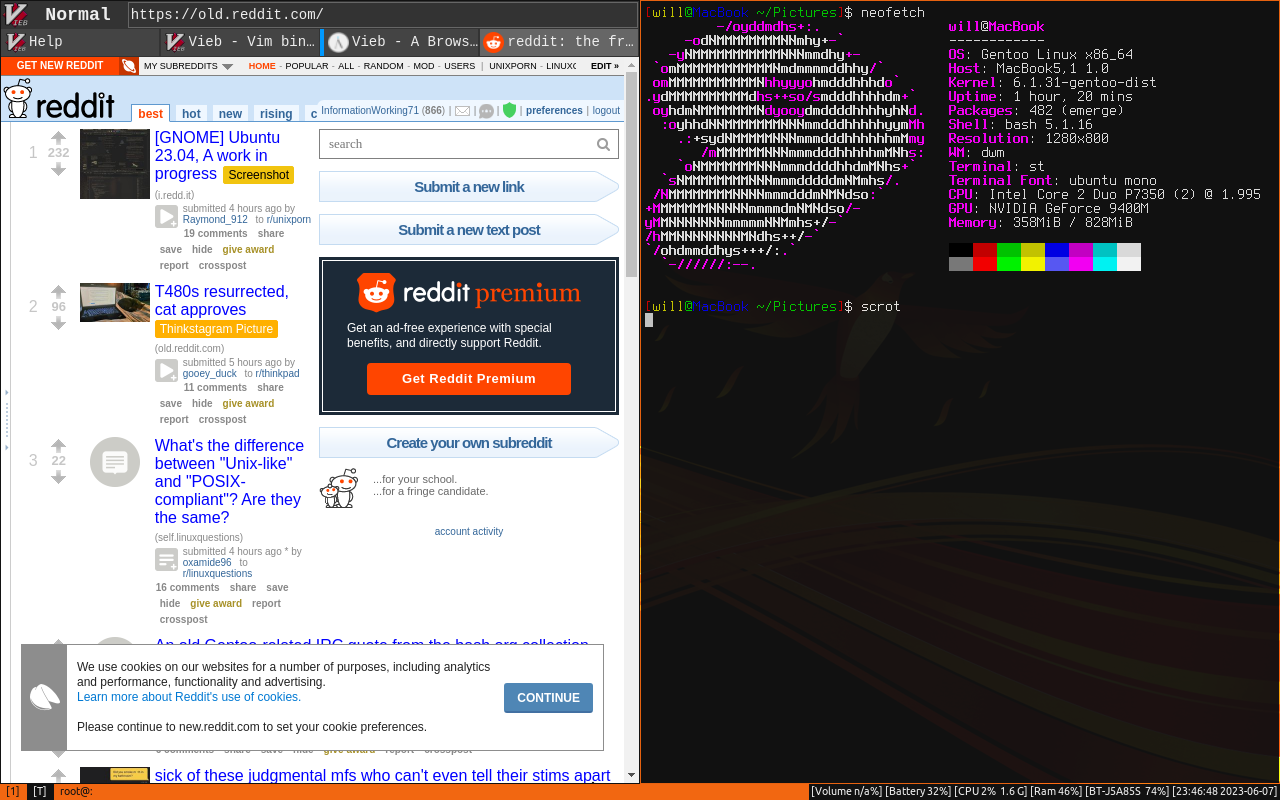
The Final Product

